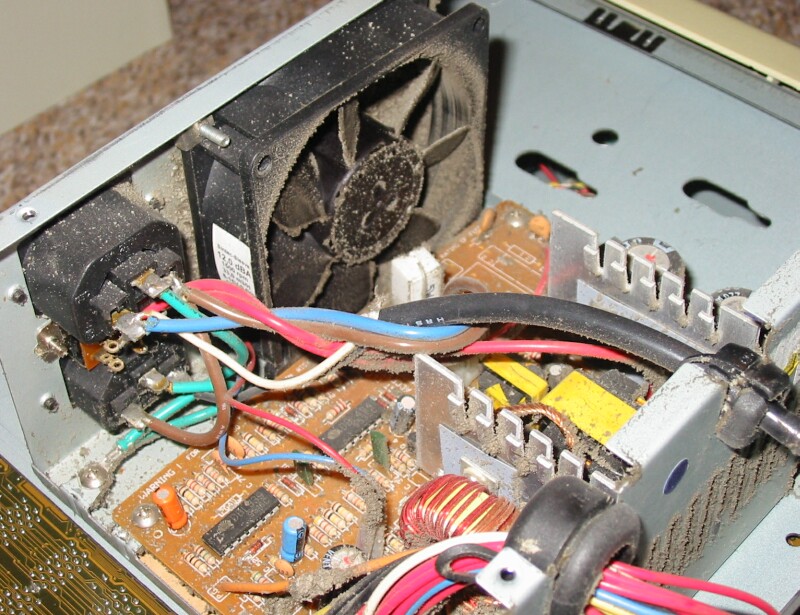
 …or should I say “Fire prevention”. Nowadays, more and more fires come from computers left running overnight. Sure it seems harmless, and you have probably gotten away with it for the past 10 years without anything happening. Still, chances are that it will happen someday.
Category: Hardware
Milling aluminum housing
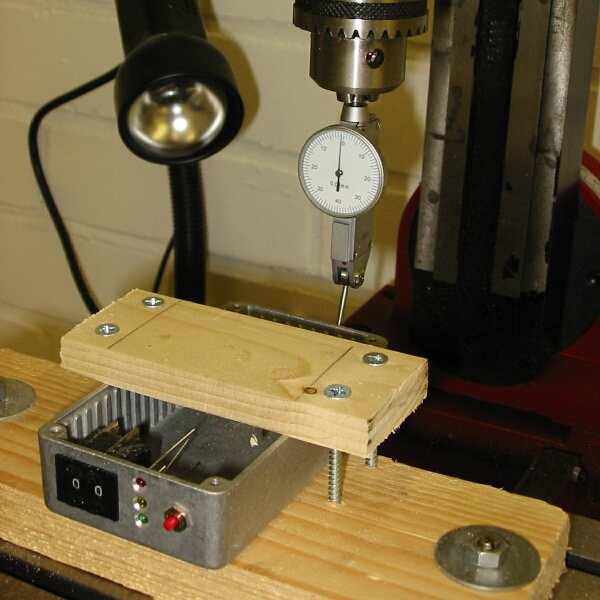 Today I found the first good use for the milling machine. I had this cast aluminum housing for an electronics project, with ridges on the inside. I made a hole for a connector in it, but I never got the nut on the inside flat to the surface because of the ridges on the inside of the housing. I decided to use the mill to flatten the surface on the inside of the housing. The housing did not fit in the clamp, so I had to find a way to get it attached to the bed of the mill in a different way. I took a piece of wood, drilled two holes in it and bolted that to the bed of the mill. Then, I used long plywood screws and another piece of wood to hold the housing. In the picture on the right you can see this construction. I used a test indicator to align the house to the X-axis of the bed.
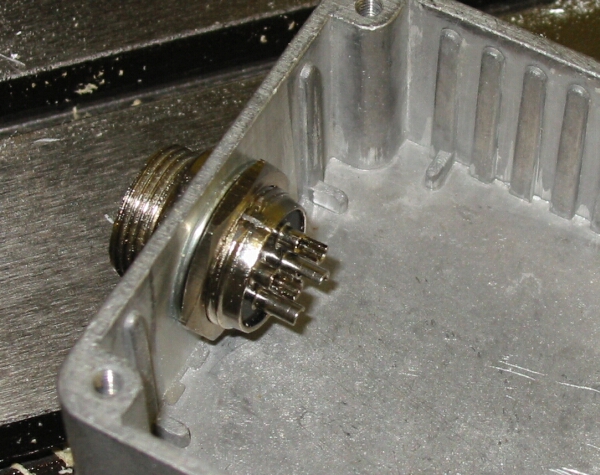 Since I only needed a plane large enough to place a ring and nut on, I roughly adjusted the 6mm mill to just not touch the bottom of the housing. I milled down to the point where the ridges were not visible. The image on the left is the result of the work. The mill is a very nice tool to adjust ready-made electronics housing to your likings.
Miling machine
 Yes, that’s right. That’s a mill you’re looking at. And yes, that photo was taken at my workshop. Last week I took a couple of days off from work, and decided to do another workshop upgrade session. After buying some decent wrenching tools, I spent some hours on the web looking for a nice bench drill. I was thinking of buying a cheap mill later on, but I found a nice combination of the two at the locloods. This small mill, the HMD Black & Red X1-super, is a nice hybrid. It operates like a bench drill, but when the handle is locked, you can use the wheels to precisely control X and Y movement of the working piece and Z movement of the mill.
 I made a nice sturdy table for the mill to rest on and bolted it on. It was a bit hard to get the mill on the high table, because it weighs about 45 kilograms and it’s really hard to grab on to. I’ve put a piece of white MDF board on the wall to hold the tools that go with the mill. Putting pieces of wood against the wall to hold tools is terrific. I’ve also done this with the tools for my lathe, see the zundapp image gallery for more pictures of the workshop.
What was once a gray and dark place to just park a car in, is now almost a solarium with lots of tools. There’s still a lot of work to be done to get the workshop completely ready, and I wonder if it will ever be finished, but it’s becomming more practical every day.

Mopeds are cool
 Today I picked up my old moped at my parents house. Yes, that’s right, I’m 33 and I still have my very first moped. It’s a real special one. I belonged to my grandfather, who passed it on to my nephew, who passed it on to me when I turned 15. When I got it it needed a lot of work. I spent some months taking it completely apart with my dad. We didn’t have a workshop back then, so we took it apart in the kitchen, of my parent’s apartment on the 7th floor :-)When I turned 16 it was ready and better than new. It was really cool to have a classic Zundapp CS50. At that time, it looked like a motorbike next to my friend’s puchs and peugeots. It really was a dream to ride, you could sit for hours on it without getting tired. I drove it for a good 6 years before it went in to “hibernation”.
So, having my own home and my own workshop right now, I decided it was a good time to pick it up and make it run once again. These German mopeds are made to last, I can tell you. When I get it running again I am sure it will be able to run for at least another 20 years or so, provided it gets reasonable maintenance.
Browse through the “Zundapp” gallery to see more pictures.